Toile Making...


Pattern Cutting


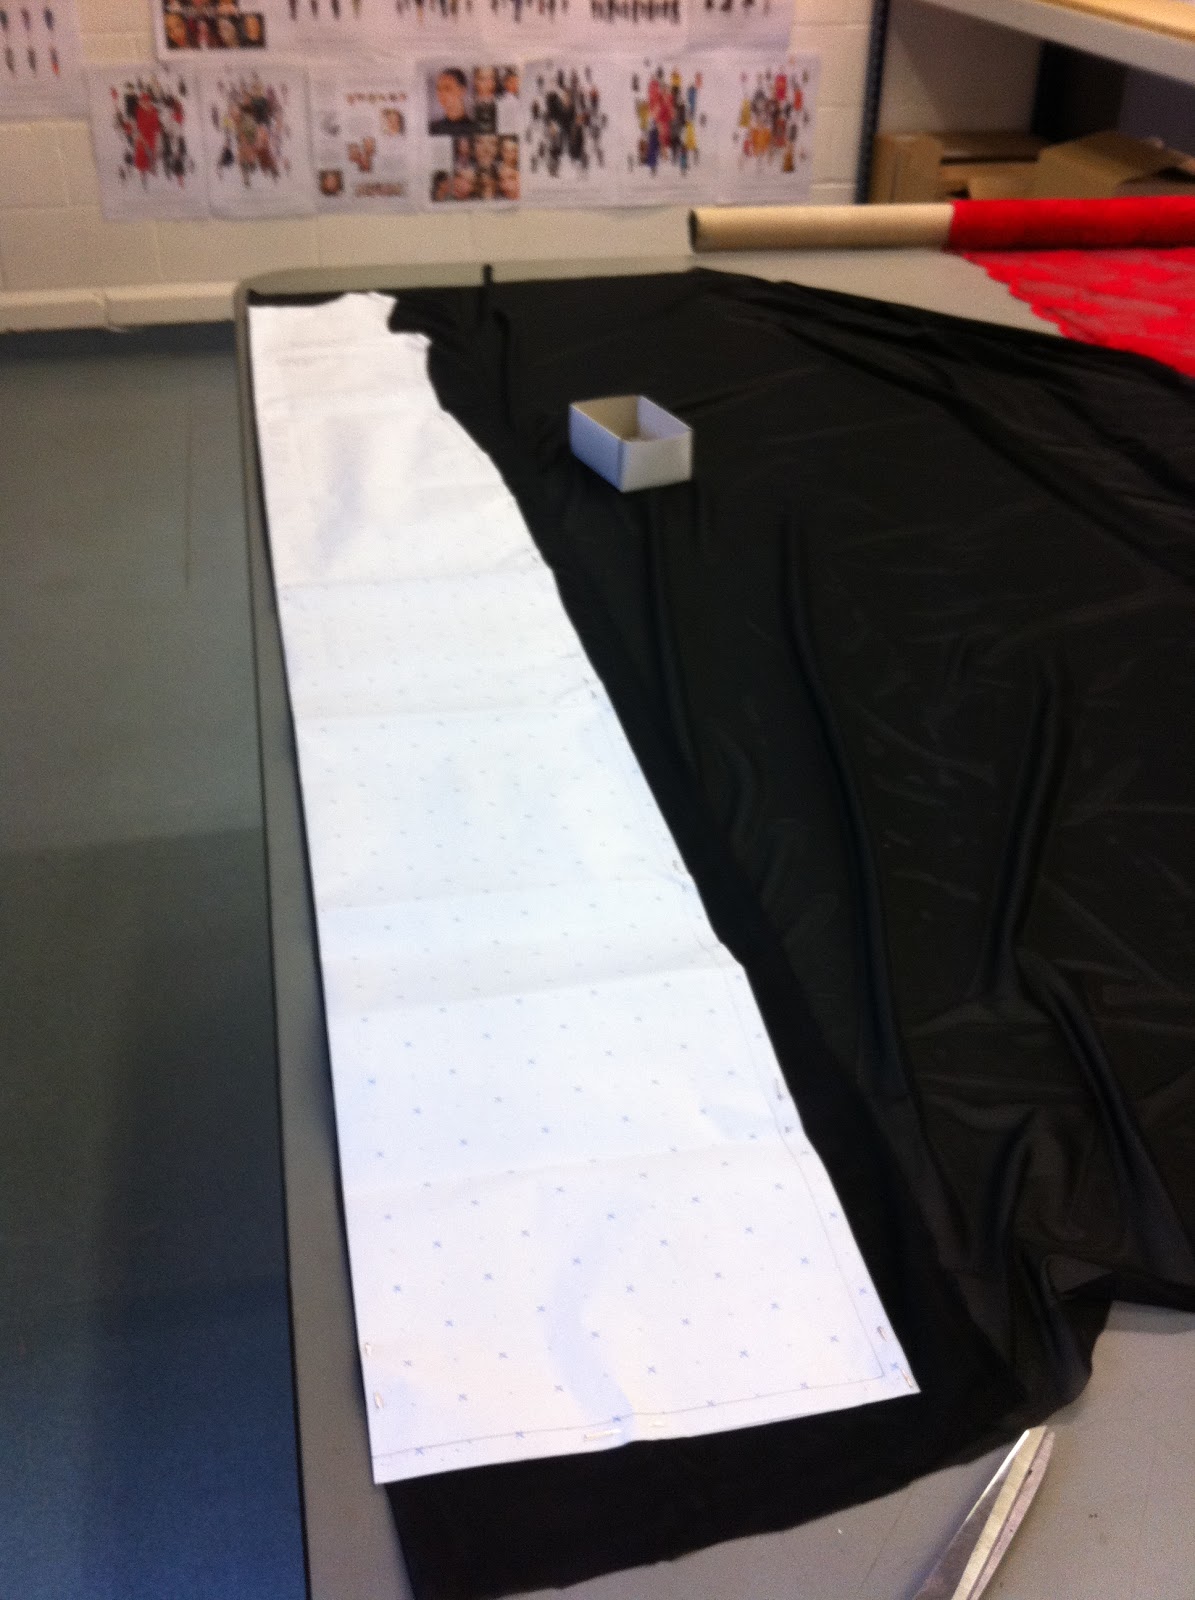
To cut out the arms I used a basic block for a jersey sleeve and repeated the same process adding seam allowance. I also started to make my toile, using a stretch fabric, slightly thicker than power net but stretchy enough to give me a good enough idea on the fit of the dress. I lay out the fabric, made sure I knew which way the stretch was going, and then folded both sides into the centre which was the most efficient way to cut the pieces. I lay the blocks front and back onto the fabric, as I did not want seams on either the front or the back both pieces were cut on the fold. This process was pretty straight forward and the fabric was very easy to work with.


I decided to first only make one arm, as this would be enough to demonstrate how the dress would look. Using the same fabric I lay the sleeve block ensuring the stretch was going around the arm which will enable movement for the wearer. I pinned the block to the fabric and also cut this out. The next step was to stitch all of the pieces together. I pinned both side seams together and completed a simple straight stitch along both edges. Then I stitched the sleeve edge together ready to put into the dress. Using the same stitch I eased the sleeve to the arm hole, but whilst doing this it appeared that there was far too much ease in the fabric and the gathering looked too full for the dress. The sleeve was not fitted well to the arm either. I unpicked the stitches, and returned to my block pattern to make alterations. This was quite simple to do; I measured around the arm hole and then measured the sleeve to see how much I would have to take out. The sleeve was 2cm wider than the arm hole. I slit the block pattern using scissors, I decided at this time that it would be easiest to take in the sleeve now also, so I overlapped the pattern paper to the new measurements I had marked on and masking taped into place. I pinned this pattern piece onto the sleeve and then cut away the excess fabric. I decided at this stage that I would like to make 2 sleeves, just to finish off the toile completely and to see the overall result. I stitched the arms into place which fit perfectly and were fitted much better to the arm now. When I dressed the mannequin I quickly realised an error I had made, the sleeves had both been stitched on the wrong arms so were facing backwards, this was not a major issue. I was ensured this was nothing to worry about and to make sure I my notches were in the right places and to stitch them correctly on my final black dress.


I have decided that joining both layers of the dress together will be the best way to stitch the dress as I don’t want there to be 2 seams on show. 2 seams won’t look very professional especially because the fabric is see-through. I firstly joined together the 2 layers of sleeve net together, very carefully stitching a straight stitch all of the way around, I used lots of pins to hold the fabric in place as the 2 layers were slippery and moving easily due to its lightweight. The fabric gets caught up in the machine easily so you need to be careful to keep it moving steadily. I completed the same procedure for the rest of the dress joining the front 2 layers and the back 2 layers. I used the small over locker to finish off the neck as this was the neatest way possible on the see-through dress. After joining the fronts and backs together I over locked the hems to make them neat. Unfortunately on the left side of the dress the fabric slipped and I didn’t quite stitch the sides completely, so the task of unpicking the whole length of the dress was very time consuming! Luckily my correction was successful second time round!

I have collected a range of beads and sequins all different sizes and colours; bronze, grey, black, pearl, and silver. There also wasn’t a pattern to follow with the embellishment, just so long as there were obvious lines of heavy embellishment. I had decided I wanted to heavily bead the front piece around the neck and then less and less to continue down the front of the tabard. I began embellishing randomly, I soon picked up a technique but the process was still very slow! I found myself only able to embellish for so long as it is so delicate and intricate, the time it takes also just to bead one row was ages, so it took a while to see any kind of positive result! I think the embellishment process is ongoing, you could keep stitching forever and it still wouldn’t be finished! The tabard was becoming increasingly more heavy and I started to worry that once I had attached the straps the weight may be too heavy. So, fingers crossed!
The back piece I decided to make slightly different, I only wanted to embellish the front, and decided to attach studs and buckles to the back. I really liked the look of these, however the studs are a lot heavier than the beads so I was limited to how many I could attach.

Buckles


Firstly I chose appropriate buckles which included brass belt type buckles for the shoulders and brass clips for the waist. I first measured how wide the straps could be, so the buckles are 2.5cm and the clips are 2.7cm. I dressed the mannequin with my black maxi dress, and then pinned the front and back of the tabard in place where I think they should be. I then measured from the back to the shoulder line and from the front to the shoulder line so I knew exactly how long the straps needed to be.
Final Garment

No comments:
Post a Comment